Showing posts with label Midterms. Show all posts

Thursday, October 16, 2014

Midterm 10


These screenshots document my progress using Vector Graphics on Microsoft word to design the house. 
Background

                                                              House and Kids

                                                         Finished Image


 Link to Google Drive


This is a vector graphics exercise. It is a midterm exercise from the Immersive Education course that I am taking at Boston College. The course is called Discovering Computer Graphics. For details, visit the immersive BC portal at http://ImmersiveEducation.org/@/bc

Midterm 8

Here is my headshot before I used the smudge and blur tools. 

Here it is after. I removed the smile lines around my mouth and nose. The one on the right hand side (looking at picture) was very obvious before and now it is gone, and the one on the left extended down my face and it is much less visible now. 


This is a photoshopping exercise using the Bitmap graphics program, GIMP. It is a midterm exercise from the Immersive Education course that I am taking at Boston College. The course is called Discovering Computer Graphics. For details, visit the immersive BC portal at http://ImmersiveEducation.org/@/bc


Midterm 7

I chose Tom Brady for this Exercise. 


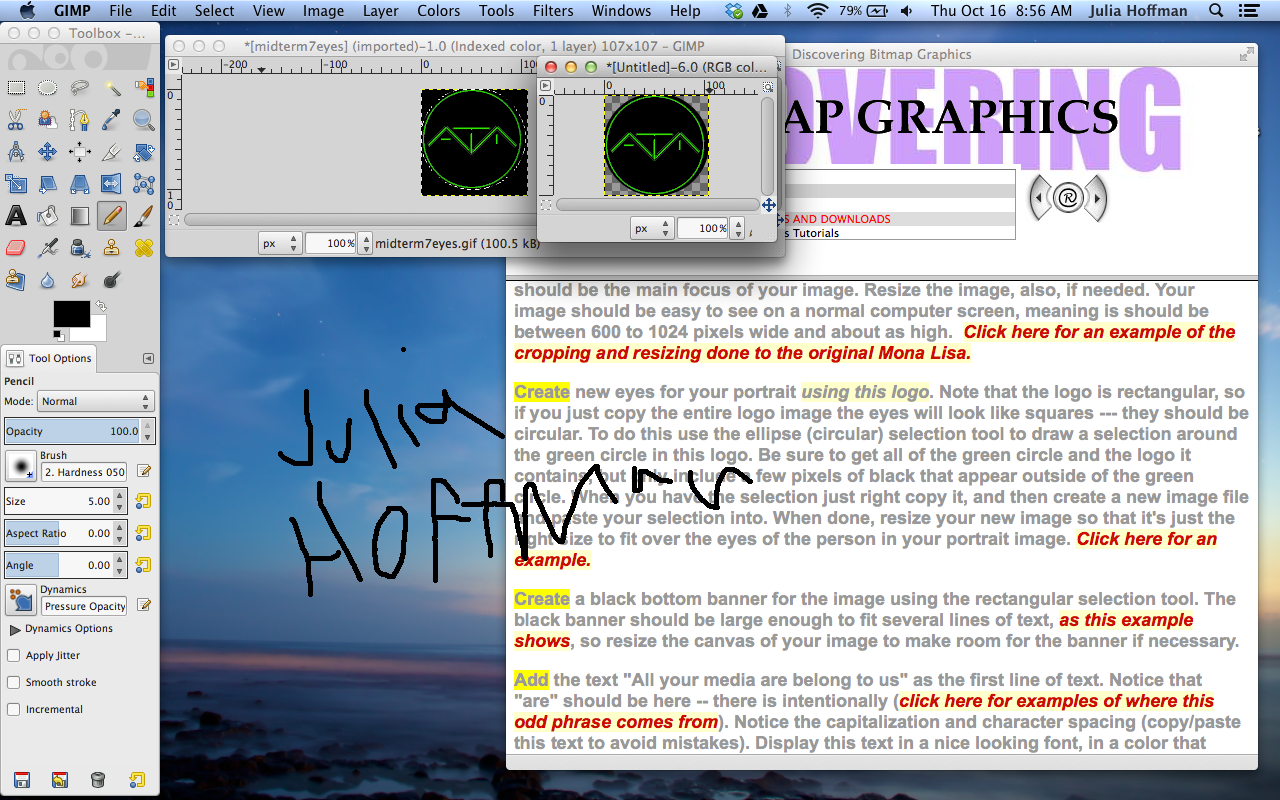
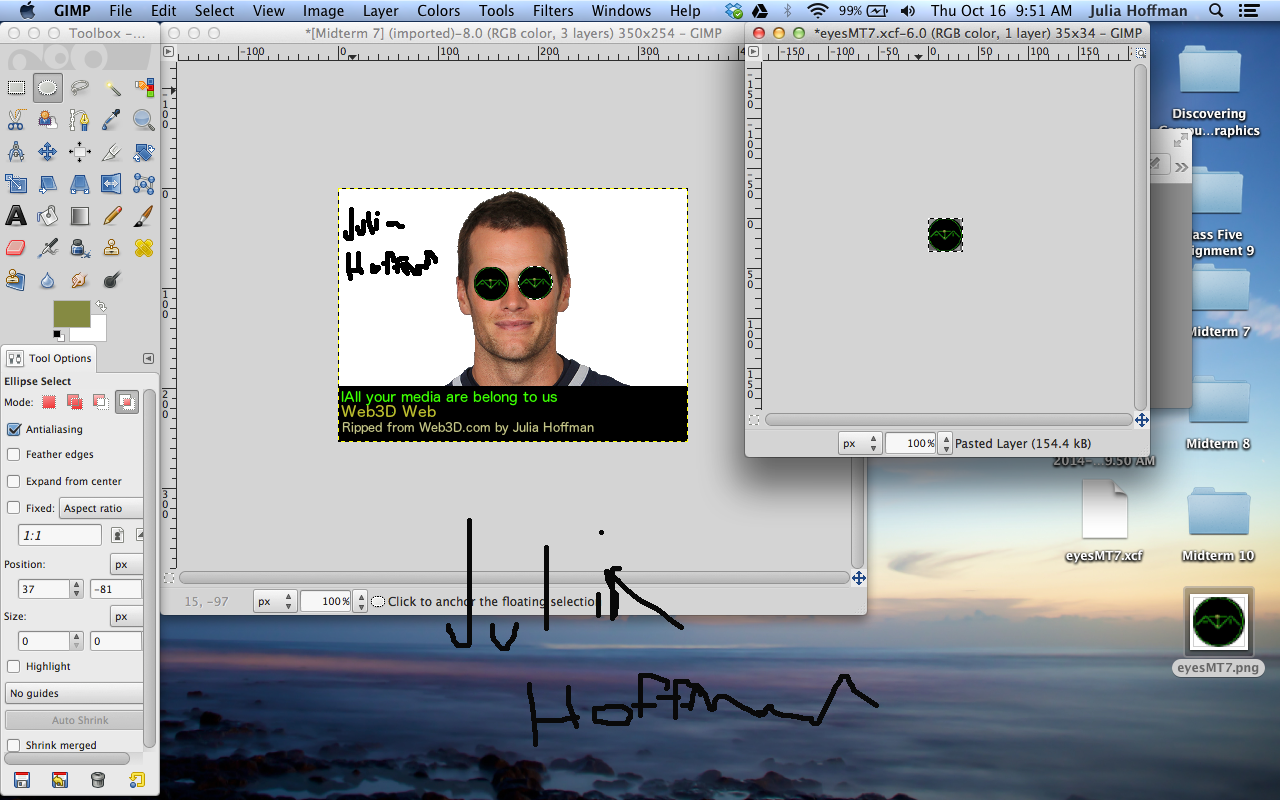
Here I edited the eyes to circles with the ellipse tool. 
                                     
Next, I added the banner.
I resized the eyes by scaling the image down.

Finally, I added the eyes to Tom Brady. To do this:
  • I first added a new transparent layer (in the layer drop down menu), 
  • Then I switched over to my GIMP file with the eyes, then copied them. 
  • Then I pasted them into the new layer and put them over his eyes. 

Final Image
This is a bitmap graphics exercise on the program GIMP. It is a midterm exercise from the Immersive Education course that I am taking at Boston College. The course is called Discovering Computer Graphics. For details, visit the immersive BC portal at http://ImmersiveEducation.org/@/bc


Thursday, October 2, 2014

Midterm 9


Below is a screenshot of my finished midterm 9 vector graphics document. I created this document using Microsoft word. It is a midterm exercise from the Immersive Education course that I am taking at Boston College. The course is called Discovering Computer Graphics. For details, visit the immersive BC portal at http://ImmersiveEducation.org/@/bc

Below is a screenshot of my midterm 9 in progress. It is a midterm exercise from the Immersive Education course that I am taking at Boston College. The course is called Discovering Computer Graphics. For details, visit the immersive BC portal at http://ImmersiveEducation.org/@/bc


Monday, September 29, 2014

MIDTERM #6

MIDTERM 6 PART 1: Understanding and Using Layers

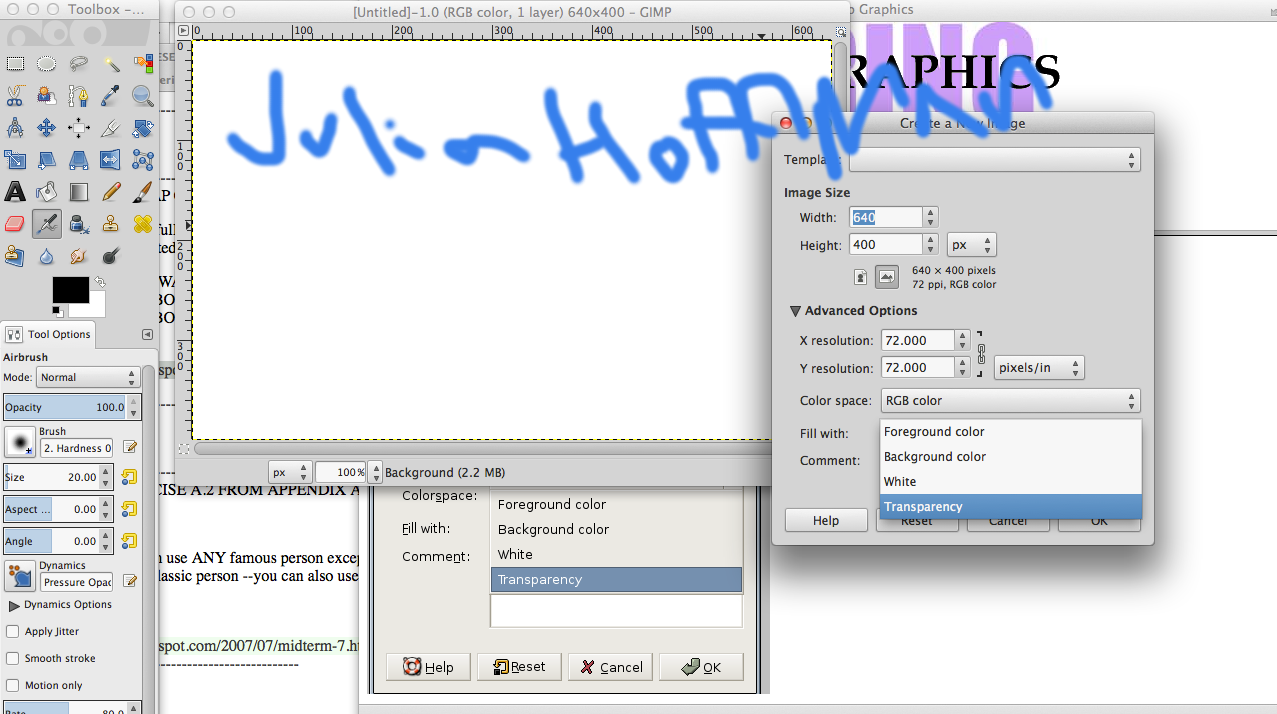
Here I am creating a new image in GIMP with transparency. 
Here is the image, ready for the caption.  
Here I've added the caption, and am ready to add a new layer. 
Here is the new layer I added with the layer menu. Notice above the image notes 2 layers, and below it notes 3. 
Here I've adjusted the opacity to 50%, so my layers show through. 

Here I have created a new layer called "TUX".
With my new layer created, I am ready to copy and paste the Penguin into my layered image.

Here is the Penguin, I have put him into the TUX layer with by pressing the anchor icon while selecting TUX.
                                          

Here I've deleted the transparent layer and the Penguin shows through.

Here is the finished PNG file.

MIDTERM 6 PART 2: Animated GIFs

Here I am creating my script with the file-create-logo-->text circle and inputing my name for the text.

                                                        Here is the text circle.
I've opened the layer window and can see the two layers in my image. 
Next I copied the text layer "Julia Hoffman" to my clipboard for later use. 
Then I selected "new layer" from the layer menu, chose "white" for the fill type, and named it New Layer 1.

  Here you can see my new white layer. I now need to paste the text layer that I copied before.
Here is the image so far, with the text pasted back in. 
A. Next I began to create the animated effect. I selected the rotate tool on the GIMP toolbar, and highlighted the "floating selection" or pasted layer in the layers window. 
B. Next  selected a 45 degree rotation on the rotation tool menu that popped up when I clicked on my image, and click rotate.
C. Next I anchor the new rotated (floating) layer to "New Layer 1".
I repeated the last three steps (which I have labeled A, B, and C) 3 times to create layers 2-4. 
Here is new Layer 2. 
New Layer 3
New Layer 4
To save my image as a GIF animation I select "export as animation"
Then I use the export as function to export the GIF animation to my desktop so that I can open it with my web browser to view my completed animation. 
Finally, I can view my animation by opening it from my desktop in Safari. 

Here is my completed animation! 


This is an assignment for computer graphics. It is a midterm exercise from the Immersive Education course that I am taking at Boston College. The course is called Discovering Computer Graphics. For details, visit the immersive BC portal at http://ImmersiveEducation.org/@/bc


Midterm #5

Here is a screenshot of the Monster.jpg ready to be saved as a Progressive JPEG and Interlaced PNG
Here I am exporting it as a progressive JPEG. 
Below is the Progressive JPEG image.  

Here I am saving the same Image as an Interlaced PNG

Below is the Integrated PNG file.


This is an assignment to demonstrate my ability to save images in various file formats . It is a midterm exercise from the Immersive Education course that I am taking at Boston College. The course is called Discovering Computer Graphics. For details, visit the immersive BC portal at http://ImmersiveEducation.org/@/bc


Thursday, September 25, 2014

Midterm #4

Below is my avatar in the Summer Landscape world.


                                          Here is my avatar inside the building you see above on the left.

 Here is my avatar sitting in one of the chairs in the room. To take the selfie I had to: 
1: Click on the remote control you can see in the bottom right hand corner. 
2: Select the target function 
3: Select my avatar as the target. 
Then I was able to change the camera angle with the WASD keys and take the selfie. 

Here is the finished greeting card. 


This is an exercise to demonstrate my ability to create an avatar and change the camera angles in the Meshmoon Rocket virtual world of my choice. It is a midterm exercise from the Immersive Education course that I am taking at Boston College. The course is called Discovering Computer Graphics. For details, visit the immersive BC portal at http://ImmersiveEducation.org/@/bc